Visual Exterior Inspection
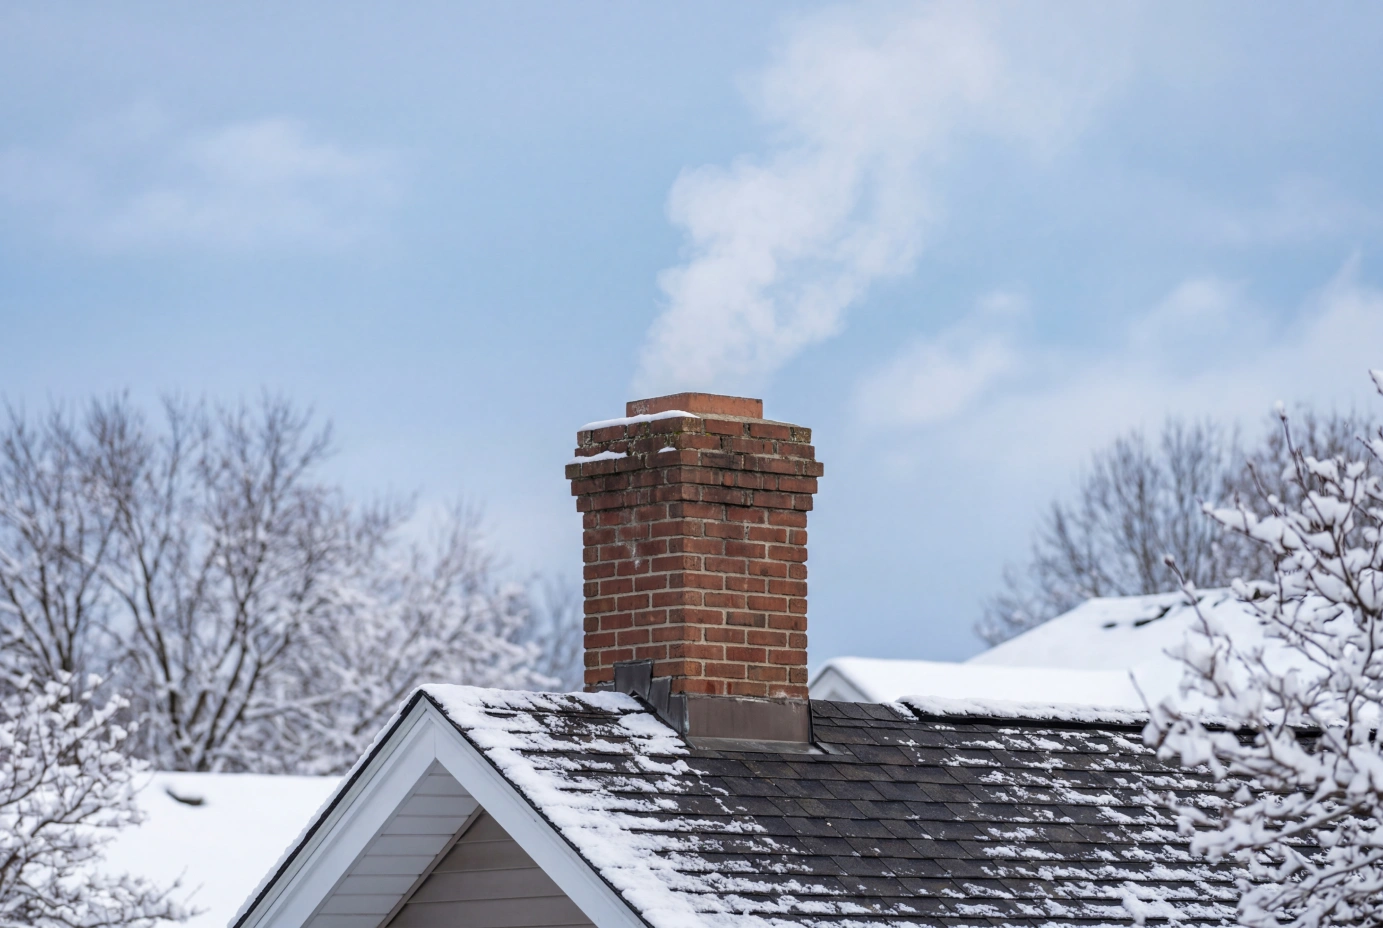
The exterior inspection begins at ground level and provides your first indication of chimney health. Start by walking around your home and examining the chimney from all accessible angles. Look for any visible changes in the masonry structure, including leaning, separation from the house, or noticeable cracks running through the brick or stone. In Sunfield’s climate, freeze-thaw cycles during winter months can cause minor cracks to expand into serious structural concerns, so even small fissures deserve attention.
Pay close attention to the chimney crown, the concrete or mortar cap that sits atop the chimney structure. A properly maintained crown sheds water away from the flue and protects the masonry beneath. Cracks or missing sections allow moisture to penetrate the chimney interior, leading to accelerated deterioration. Similarly, inspect the chimney cap, the metal covering that prevents rain, animals, and debris from entering the flue. A missing or damaged cap is one of the most common issues we observe during fireplace maintenance service calls, and it creates immediate risks for water damage and blockages.
Examine the brickwork carefully for white staining, known as efflorescence, which indicates water is moving through the masonry and depositing mineral salts on the surface. While efflorescence itself is primarily cosmetic, it signals an underlying moisture problem that can lead to spalling (surface deterioration of bricks) and structural weakness. If you notice multiple bricks with surface flaking or pieces breaking away, schedule a professional assessment before using the fireplace. Professional fireplace cleaning service includes evaluation of these exterior conditions as part of a thorough safety inspection.
Interior Chimney Assessment
Moving inside, the interior assessment focuses on the firebox, damper, and visible flue sections. Open the damper completely and use a flashlight to look up into the flue from below. You should see daylight at the top if the chimney is unobstructed. Any blockage, whether from animal nests, fallen debris, or excessive creosote buildup, must be cleared before lighting a fire. Creosote, the black or brown residue left by burning wood, accumulates on flue walls and becomes a serious fire hazard when layers build beyond one-eighth inch thickness.
Inspect the firebox walls for cracks in the firebrick or refractory panels. These heat-resistant materials protect the masonry structure from extreme temperatures, and damaged firebrick allows heat to reach the outer chimney walls, creating potential ignition points for nearby combustible materials. Small hairline cracks in firebrick are typically acceptable, but any brick that is loose, crumbling, or missing requires fireplace repair before use. The mortar joints between firebricks should be intact and tight; deteriorated joints reduce the firebox’s ability to contain heat safely.
Test the damper operation by opening and closing it several times. The damper should move smoothly and seal completely when closed. A stuck or warped damper wastes energy and may prevent proper ventilation during use, causing smoke to enter your living space rather than venting outdoors. If the damper shows signs of rust, excessive wear, or fails to seat properly, professional fireplace maintenance service can address the issue. Check the smoke chamber above the damper for any visible deterioration or excessive creosote accumulation, which often appears as thick, tar-like layers or shiny, hardened glaze. This inspection step often reveals conditions that require professional attention before the heating season begins.
Mortar and Brick Condition
The mortar joints between bricks form the structural integrity of your masonry chimney, and their condition directly affects safety and longevity. Examine joints throughout the visible chimney structure, looking for areas where mortar has receded, crumbled, or fallen out completely. Mortar deterioration typically begins at the top of the chimney, where exposure to weather is most severe, then progresses downward. In our region, the combination of temperature fluctuations and precipitation accelerates mortar breakdown, making regular assessment particularly important for homes with older chimneys.
Use a flathead screwdriver or similar tool to gently test mortar hardness. Press the tool into several joints at different heights on the chimney. Sound mortar will resist penetration, while deteriorated mortar will feel soft, sandy, or allow the tool to sink in easily. Joints that have lost more than a quarter-inch of depth need professional repointing to restore structural stability and prevent water infiltration. Water entering through deteriorated mortar joints saturates the masonry, leading to interior damage, reduced structural strength, and potential collapse in severe cases.
Inspect individual bricks for signs of damage beyond surface staining. Spalling, where the brick face flakes or pops off, indicates freeze-thaw damage from absorbed moisture. Bricks in this condition have compromised structural integrity and should be evaluated by someone trained in fireplace repair. Look for step-cracking, diagonal crack patterns that follow the mortar joints in a stair-step pattern, which often signals foundation settlement or structural movement. Any crack wider than one-quarter inch, particularly those running through multiple bricks rather than along mortar joints, requires immediate professional evaluation before you use the fireplace. These structural concerns often extend beyond cosmetic issues and can affect the chimney’s ability to safely contain and vent combustion byproducts.
Flashing and Roof Penetration
The area where your chimney penetrates the roof represents one of the most vulnerable points for water entry into your home. Flashing, the metal barrier that seals this intersection, must remain intact and properly sealed to prevent leaks. From ground level or using binoculars if you cannot safely access the roof, examine the flashing for rust, gaps, or separation from either the chimney or the roof surface. Properly installed flashing consists of both base flashing, which lies beneath the roofing material, and counter flashing, which embeds into the chimney mortar joints and overlaps the base flashing.
Look for any areas where caulk or sealant has deteriorated, cracked, or pulled away from the surfaces it is meant to protect. While quality flashing installation relies primarily on mechanical integration rather than sealants, many installations use caulk as a secondary barrier. Failed sealant allows water to track behind the flashing and into the roof deck or interior walls. Rust stains or visible corrosion on metal flashing indicate deterioration that will eventually lead to perforation and active leaking. In homes with brick chimneys, check that counter flashing remains firmly embedded in mortar joints rather than simply laid against the brick surface, which provides inadequate protection.
Water stains on interior ceilings or walls near the chimney, even if they appear old or inactive, suggest previous flashing failure and warrant closer investigation before you begin using the fireplace for the season. Active leaks can saturate insulation, damage framing, and create conditions for mold growth. Professional gas fireplace service or traditional fireplace maintenance often includes flashing inspection as part of a pre-season checkup, identifying potential leak points before they cause interior damage. If you observe any questionable conditions around the roof penetration, having them evaluated now prevents emergency repairs during the heating season when you most want to use your fireplace.
Final Safety Checks and Professional Inspection
After completing your visual inspection, address two critical safety elements before lighting your first fire. First, verify that you have working smoke detectors and carbon monoxide detectors installed on every level of your home, particularly near sleeping areas. Test each detector and replace batteries if needed. Carbon monoxide, an odorless and deadly gas produced by incomplete combustion, can enter living spaces through cracks in the chimney structure or downdrafts from blocked flues. Detectors provide essential early warning if ventilation problems develop during fireplace use.
Second, clear the area immediately surrounding the fireplace of any combustible materials. This includes furniture, curtains, decorative items, and stored firewood. The hearth extension, the non-combustible floor area in front of the fireplace opening, should extend at least sixteen inches beyond the firebox on all sides for wood-burning fireplaces, and this space must remain clear during operation. Confirm that your fireplace screen or glass doors are in good condition and fit properly, as these barriers prevent sparks and embers from escaping into the room.
While homeowner inspections provide valuable baseline information, professional assessment offers capabilities beyond visual examination. Certified technicians use specialized cameras to inspect the entire flue length, detecting deterioration, blockages, or structural issues invisible from ground level or the firebox. Professional fireplace cleaning service removes creosote buildup using tools and techniques designed to protect the flue liner while eliminating fire hazards. Gas fireplace service includes testing of burner operation, gas pressure, and safety shutoff systems that require technical knowledge and calibrated equipment.
Schedule professional inspection annually, ideally before the heating season begins, to identify conditions that compromise safety or efficiency. Issues discovered during professional inspection often prove less expensive to address when caught early, before a minor crack becomes a structural failure or modest creosote accumulation becomes a chimney fire. If your self-inspection revealed any concerns – damaged masonry, excessive creosote, questionable flashing, or malfunctioning components – professional evaluation provides the technical expertise needed to determine appropriate next steps and ensure your chimney is safe for use throughout the season ahead.